Customize Discovery Agent
This topic describes how to create a discovery agent and configure it to discover services, edit it, and delete it.
Create Discovery Agent
-
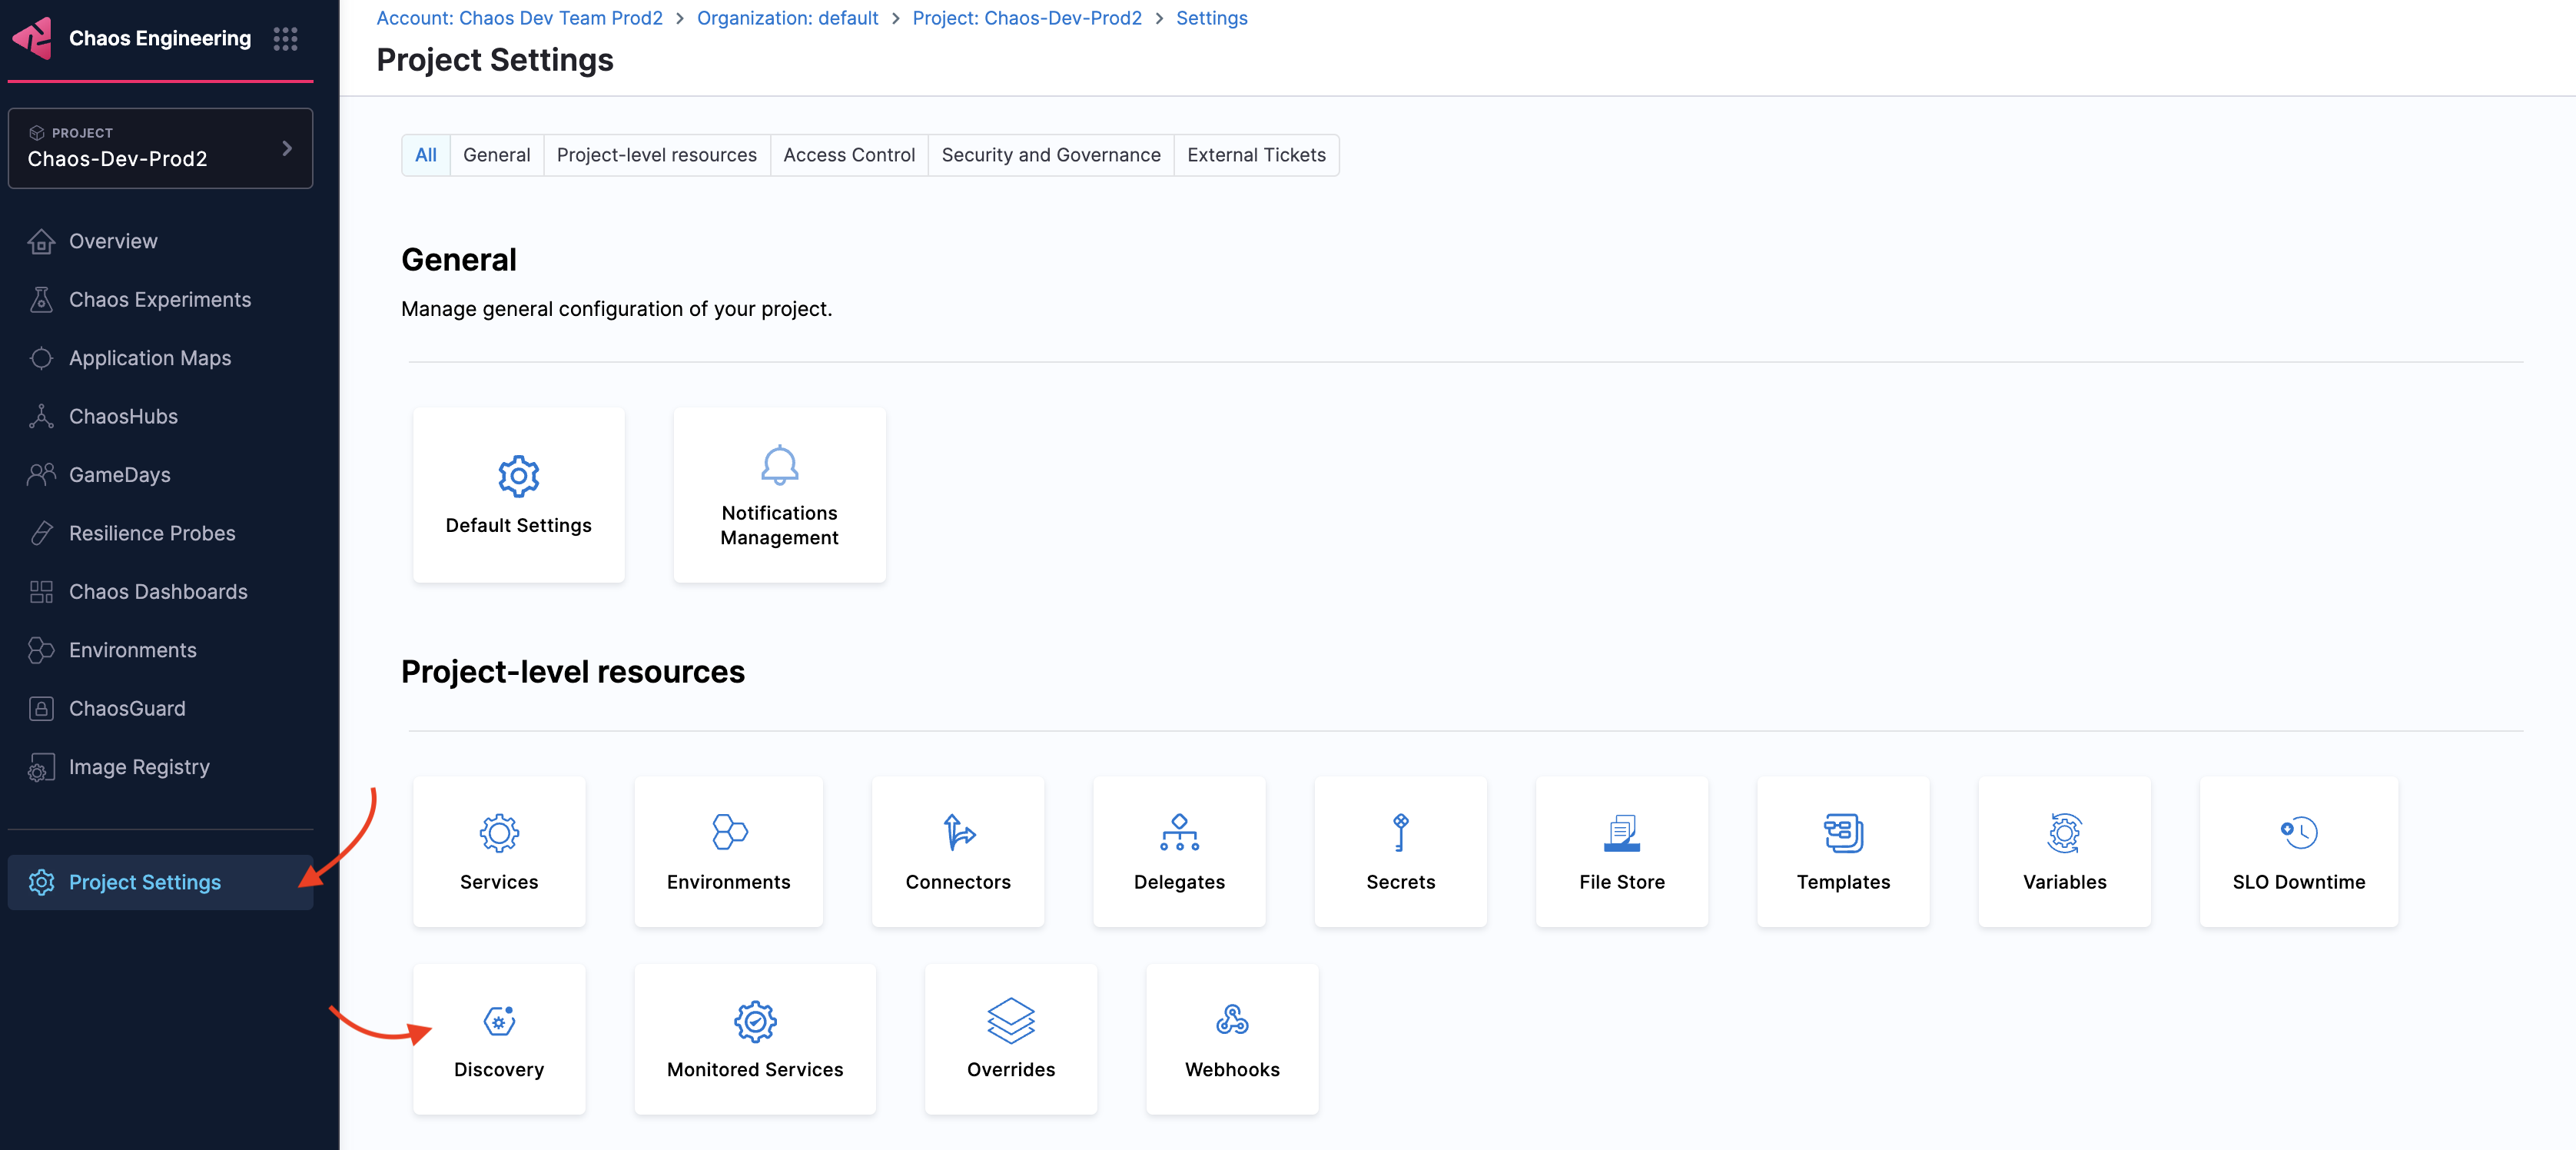
Navigate to Project Settings and select Discovery.
-
Click New Discovery Agent.

-
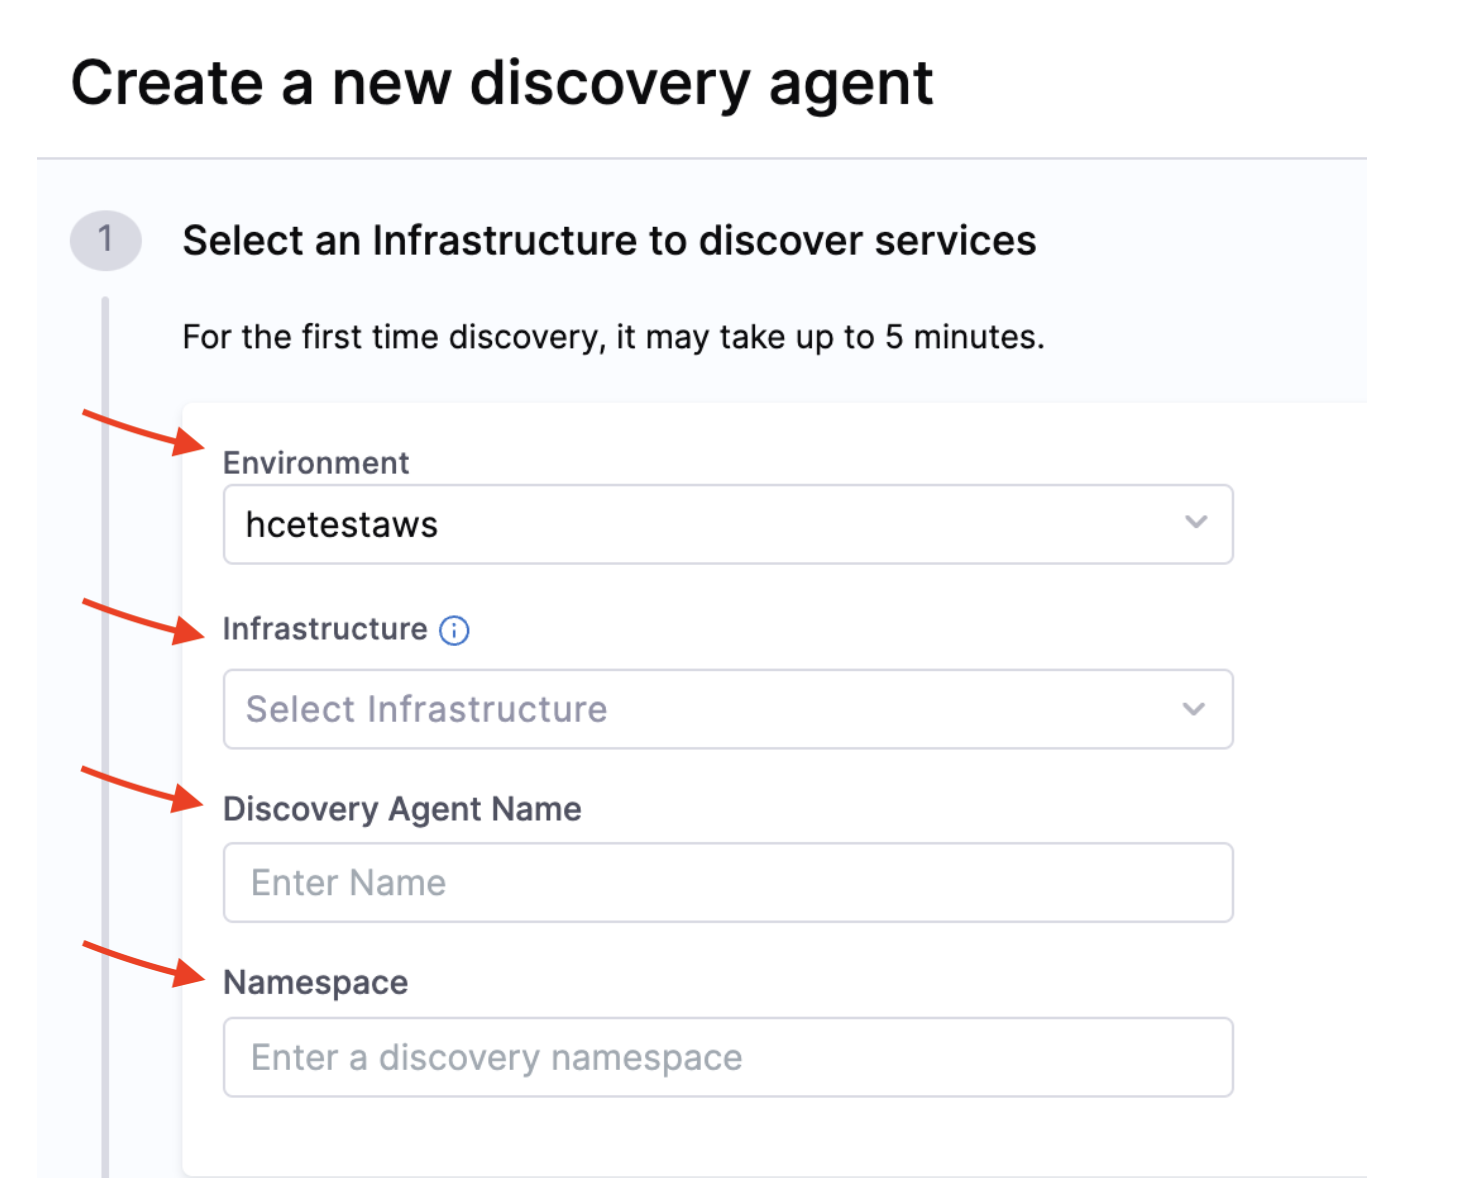
Specify the following variables:
-
Environment (this is created earlier, and is the place where you install infrastructure)
-
Infrastructure (this is created earlier, where your target cluster is housed).
-
Specify Discovery Agent Name.
-
For the Namespace, provide the dedicated namespace you created in your target cluster for Harness. This is the namespace where Harness runs chaos runners, discovers services and executes chaos experiments.
-
-
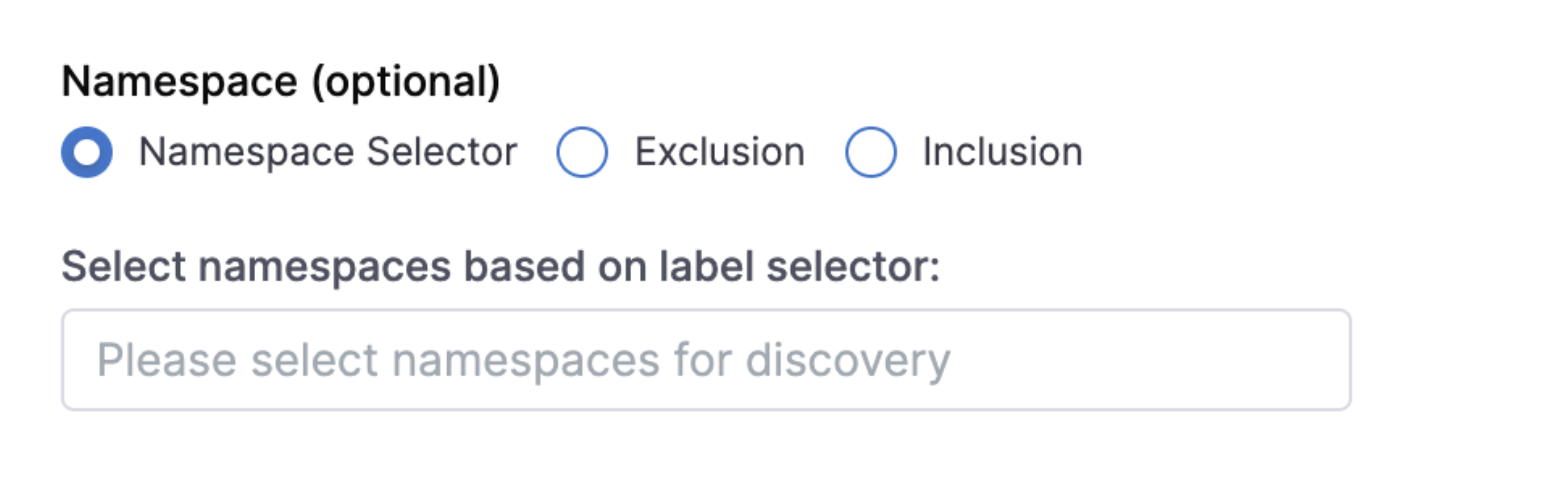
Select one of the following based on your requirement.
-
Namespace Selector: Selects one or more namespaces based on level selector.
-
Exclusion: Select this option to avoid Harness from discovering certain namespaces. Provide the name of the namespaces to be excluded.
-
Inclusion: Select this option to allow Harness to discover specific namespaces. Provide the name of the namespaces to be included.
-
-
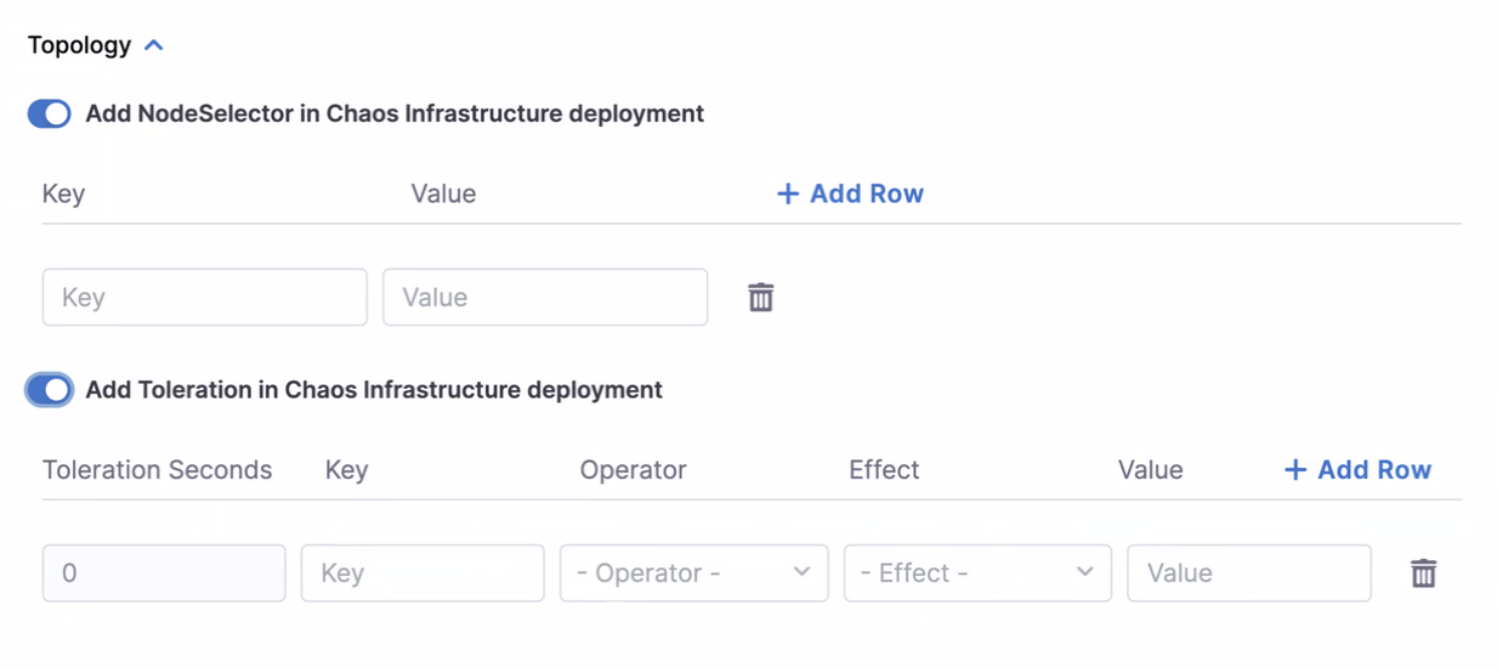
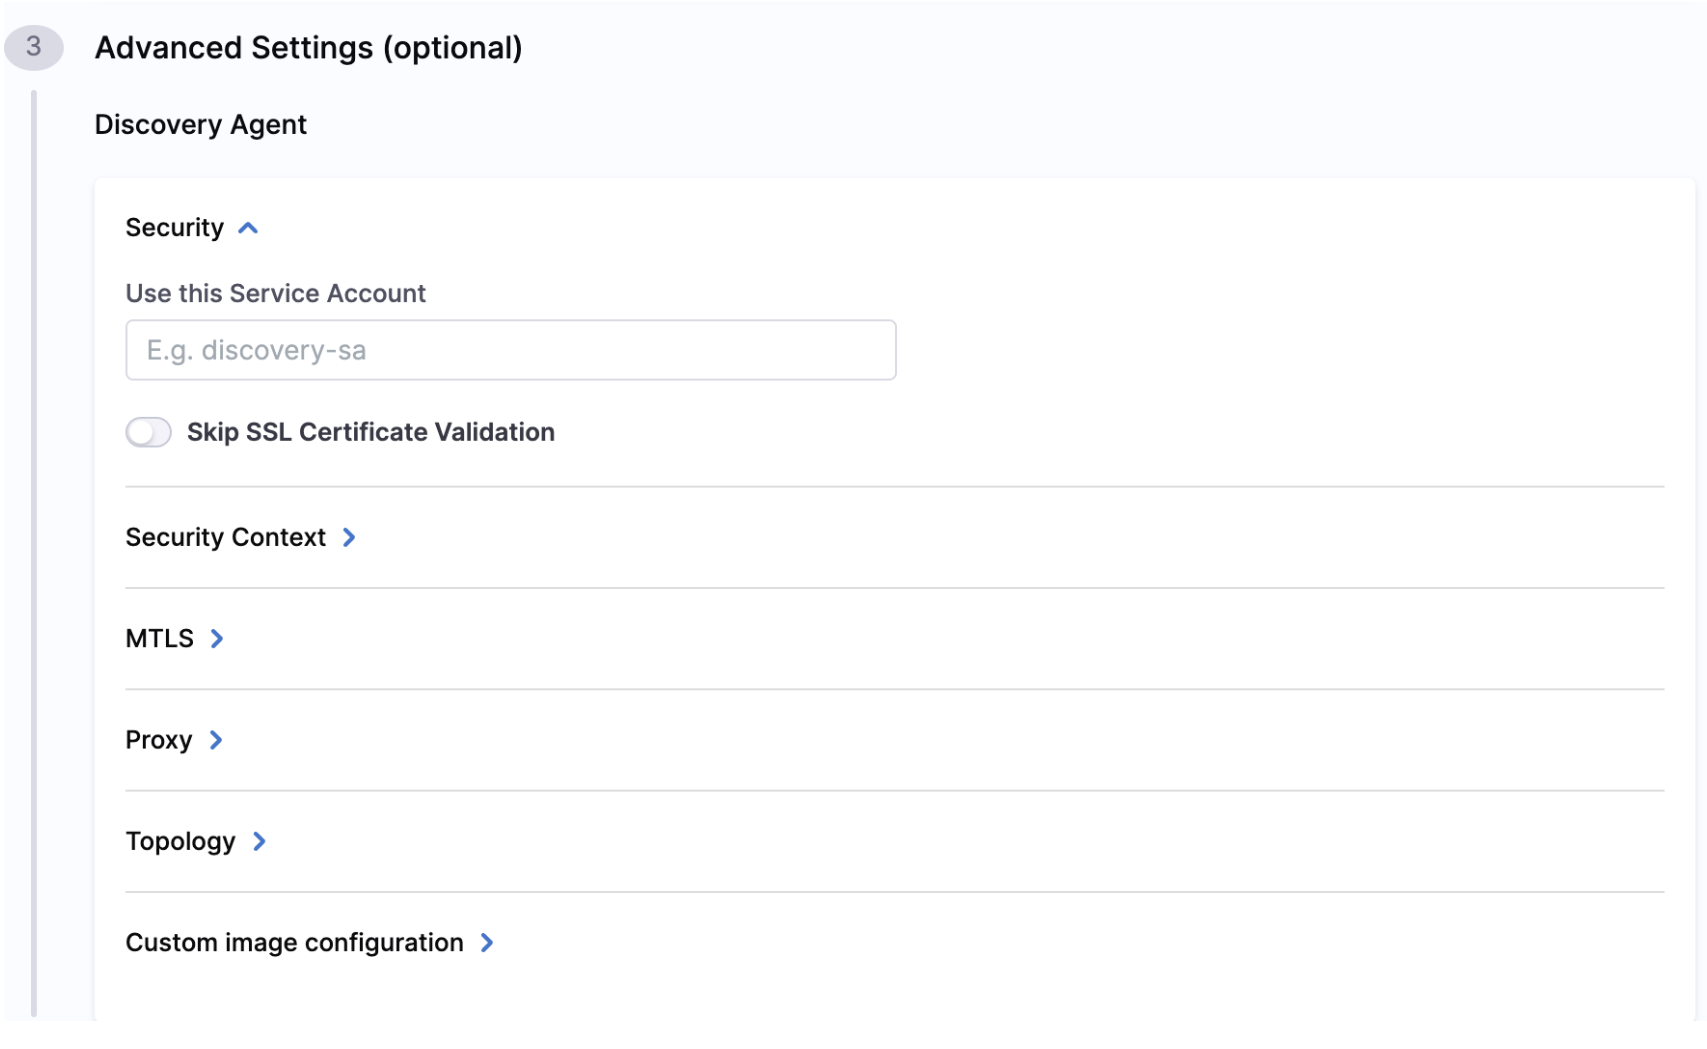
If your cluster control plane node has a taint, Add Node Selector so that Harness launches its pod only on the worker nodes.
-
Populate the Use this Service Account field with the Service Account name that you created in the dedicated namespace in your target cluster for Harness.
-
Click Create New Discovery Agent on the top right corner of the page.

Edit Discovery Agent
-
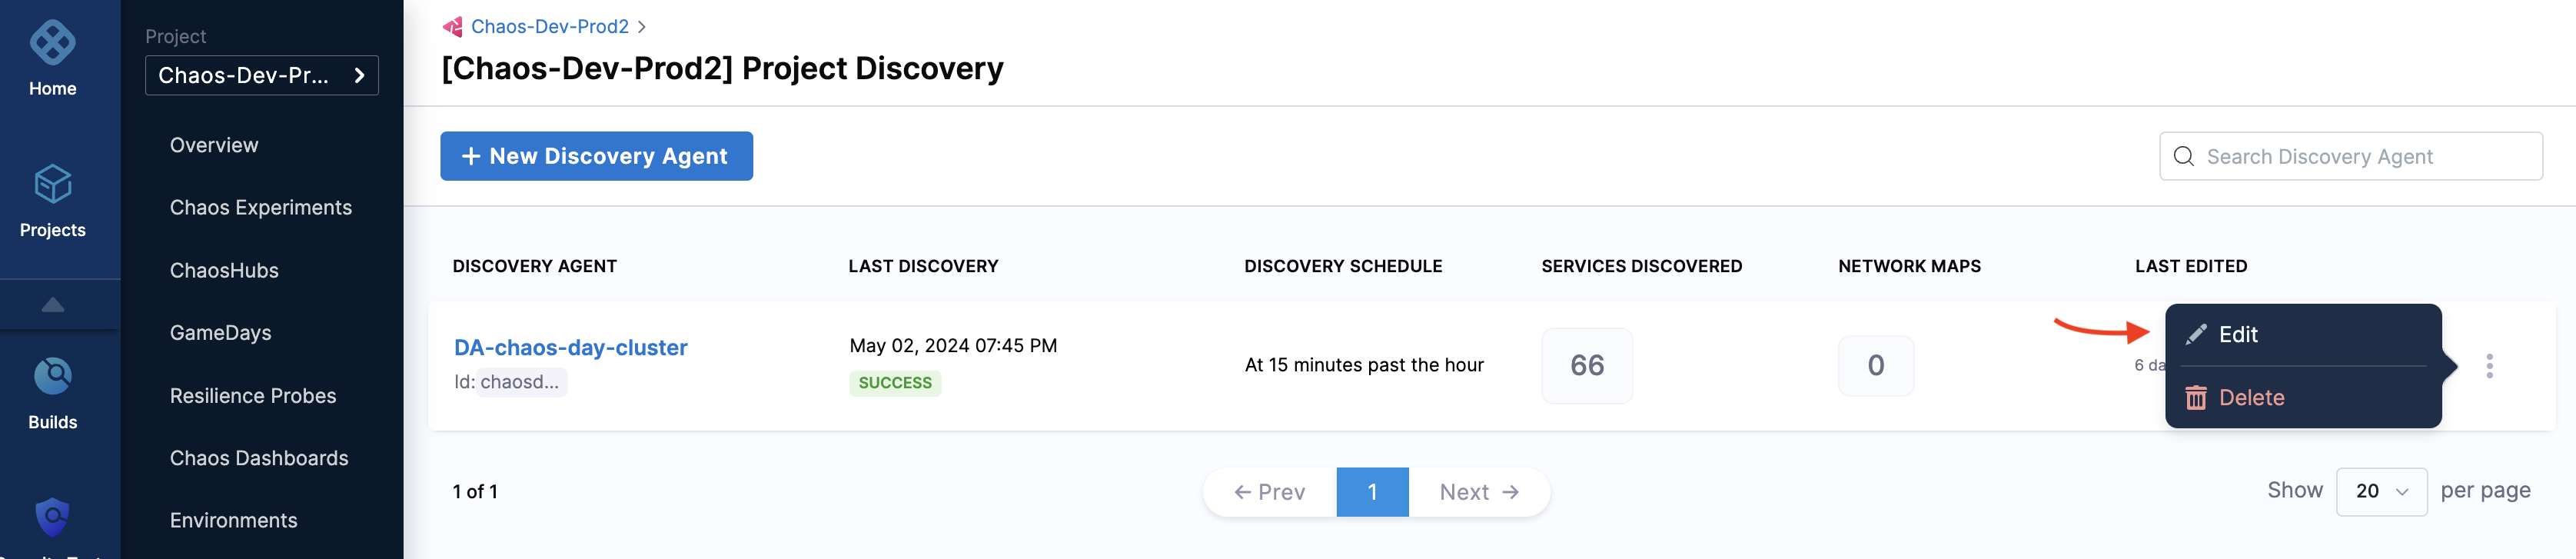
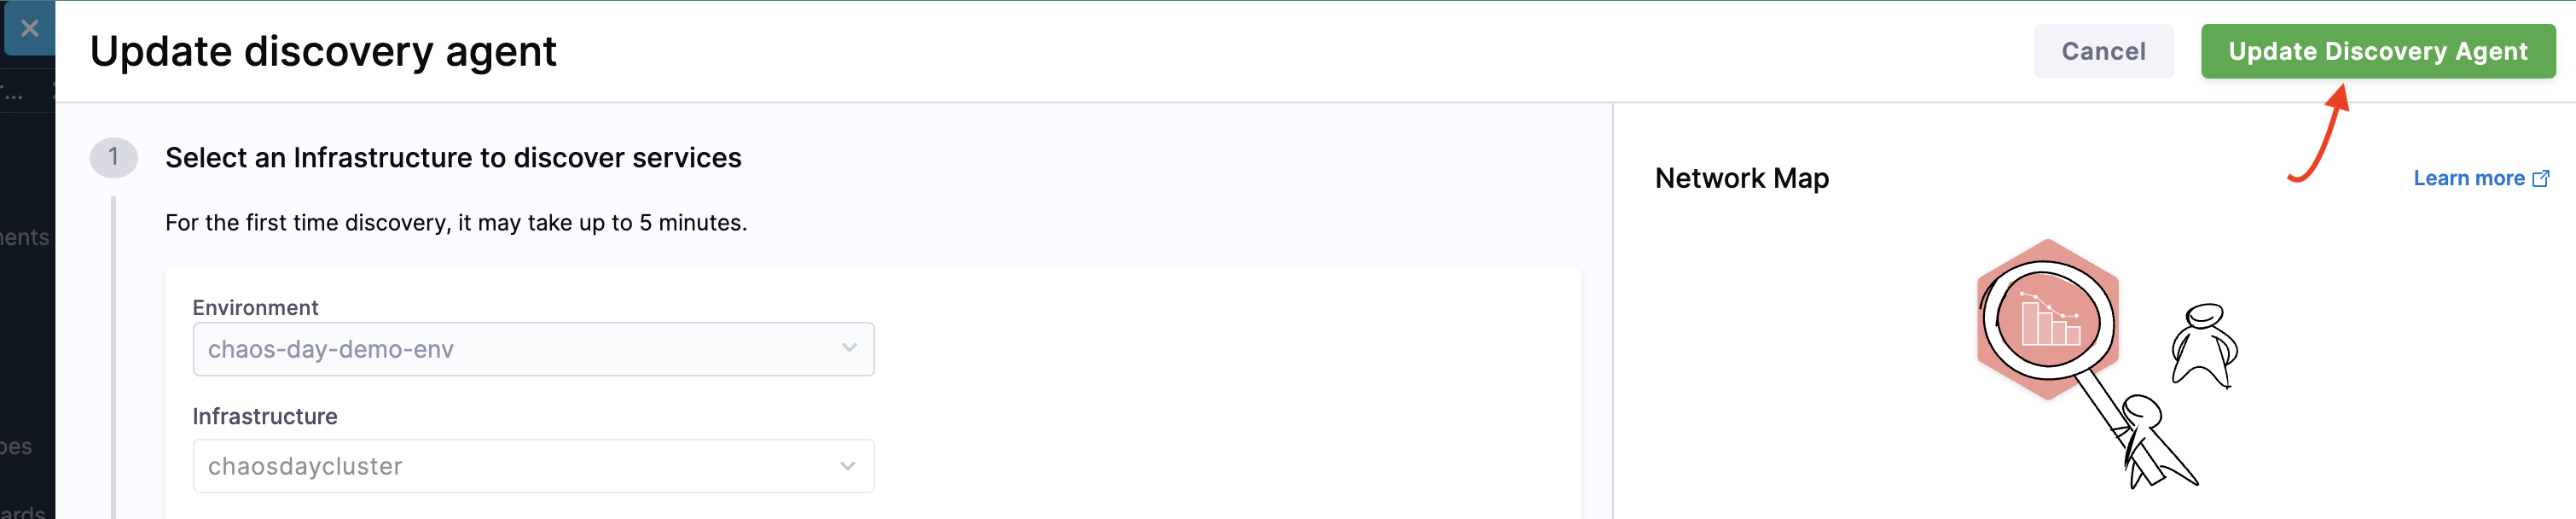
To edit a discovery agent, navigate to the agent (that you created earlier) and click Edit. Make the necessary changes to the required fields.
-
Select Update Discovery Agent.
Delete Discovery Agent
-
To delete a discovery agent, navigate to the agent you want to delete and select Delete.

-
Select Delete.
